
How To Document an Accident Scene
Posted on: July 30, 2026If you’ve just been involved in an accident, take a breath. You’re probably shaken up or in pain, which is completely normal. Or maybe you’re preparing yourself ahead of time so you know what to do if an accident ever happens.
Either way, it helps to understand what should be documented and why.
Accident scenes can change surprisingly fast. Vehicles are moved. Debris is cleared. Witnesses leave. Details that seem obvious in the moment disappear within minutes—and those details can make or break your case.
Once that evidence is gone, it becomes much easier for someone else to shape the story of what happened. The other driver’s insurance company, and even your own, will begin collecting information right away with the goal of questioning your claim or limiting what they have to pay.
That’s why it’s so important to create your own record of the accident.
Before You Start: Do Not Risk Your Safety
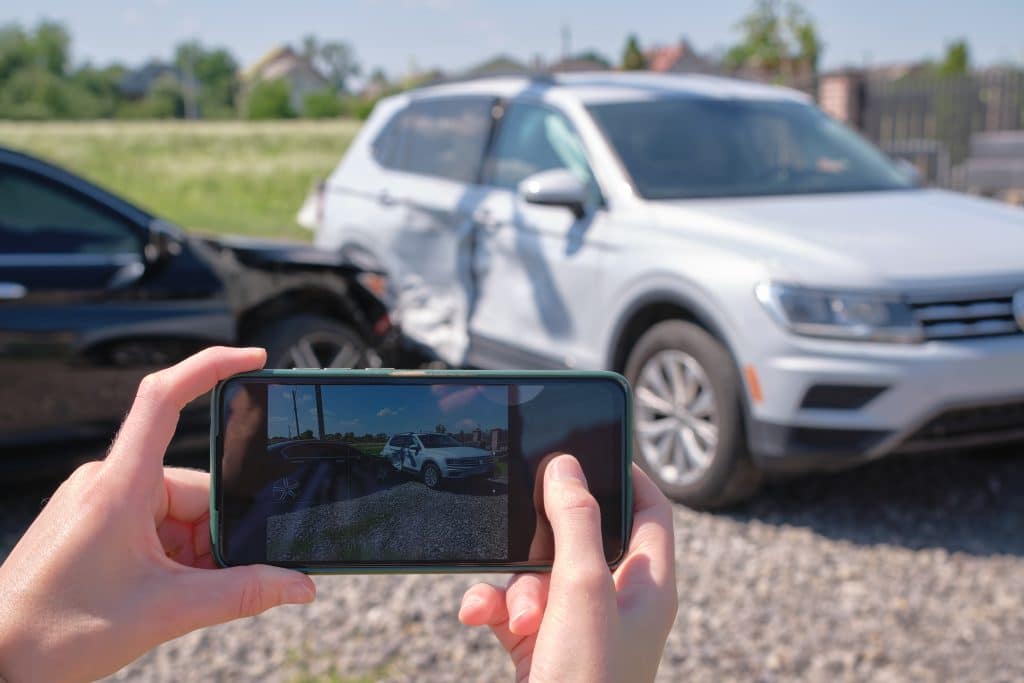
Documentation is important, but it is not more important than your safety. Do not stand in traffic, worsen an injury, or put yourself in danger to take photographs. If you are hurt or unable to move safely, ask a passenger, witness, friend, or family member to help document the scene for you.
Start with the scene as a whole, then work your way down to the smaller details. The goal is to preserve what happened before the scene changes too much.
Use the steps below as a guide, and download our accident documentation checklist so you can keep it with you.
1. Take Wide Photographs and Video of the Entire Scene
Start by stepping back and capturing the scene as a whole. Take wide photographs of the roadway, intersection, and every vehicle involved. An even better method is video. A slow walkthrough can show how the details relate to each other and give a more complete perspective.
Make you capture where the vehicles are positioned in relation to one another, the lane markings, traffic signals, shoulders, nearby businesses, and the surrounding area.
2. Photograph the Location of Impact
Next, document the exact area where the accident appears to have happened. This may be where two vehicles collided, where a pedestrian or bicyclist was struck, or where a motorcycle went down.
Include any nearby lane markings, roadway damage, debris, dropped belongings, or other details that help show the point of impact.
3. Photograph Where the Vehicles or People Came to Rest
Take photographs showing where each vehicle, motorcycle, bicycle, or person ended up after the impact.
These final positions can help explain how everyone moved through the scene after the collision and may support other evidence about how the accident happened.
4. Photograph All Damage and Points of Contact
Take close photographs of the damage to every vehicle, person, and object involved. Focus on the areas where contact occurred, but remember that damage is rarely limited to just cars. Photograph signs, guardrails, bicycles, helmets, clothing, dropped belongings, or anything else affected by the crash.
Capture the damage from several angles. These patterns can help show where the impact happened, the direction of the collision, and how the people or vehicles moved afterward.
This is especially important after a sideswipe accident, where scrape marks and the location of the damage may help show which vehicle was at fault.
5. Photograph Skid Marks and Tire Marks
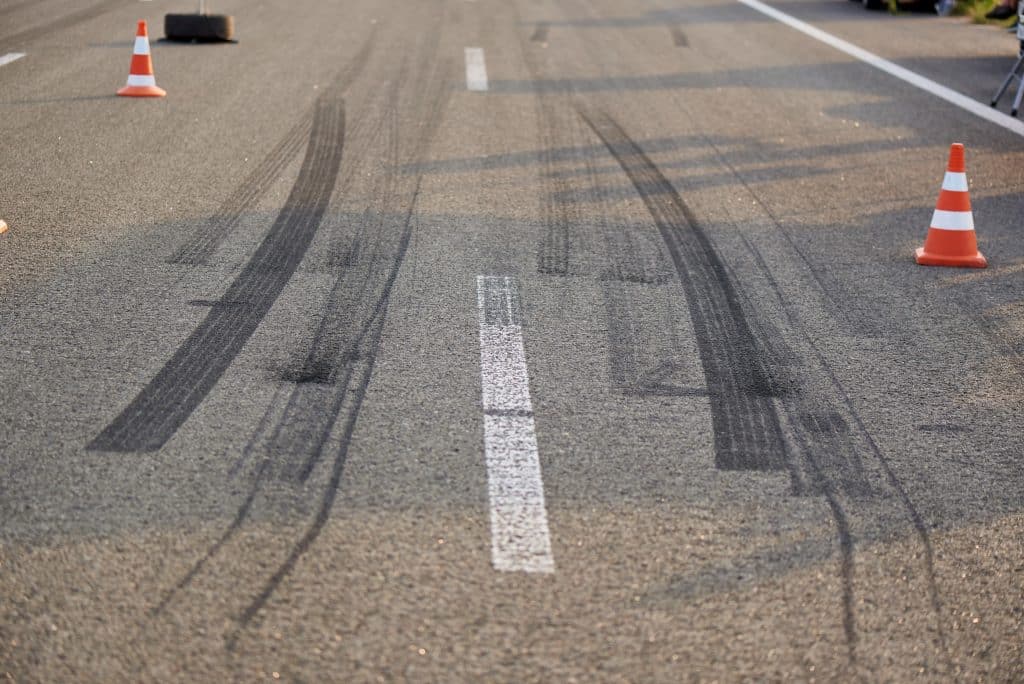
Take pictures of any skid marks, tire marks, or tracks on the roadway. Try to capture both close-up details and wider views that show where the marks begin and end.
These marks can help show whether a driver braked, swerved, or tried to avoid the collision.
6. Document Traffic Controls and Roadway Features
Photograph any traffic lights, stop signs, crosswalks, lane markings, turn lanes, medians, shoulders, bicycle lanes, and nearby road signs.
These details can help show where each driver, pedestrian, or bicyclist was supposed to be and whether anyone failed to follow the rules of the road.
7. Document Weather, Lighting, and Road Conditions
Take photographs of any conditions that may have affected the accident. This can include rain, standing water, glare, darkness, fog, damaged pavement, loose material, or nearby construction.
These details can help show what each person could see and whether the roadway made it harder to stop, turn, or avoid the collision.
8. Photograph Anything That May Have Blocked Someone’s View
Look for anything that may have made it harder for a driver, pedestrian, or bicyclist to see what was coming. This can include trees, bushes, parked vehicles, construction equipment, buildings, or blocked signs.
Take both wide and close photographs so the location and size of the obstruction are clear.
9. Photograph Visible Injuries
Take clear photographs of any cuts, bruising, swelling, abrasions, bleeding, or other visible injuries.
Some injuries become more noticeable over time, so continue taking pictures in the days that follow. This can help show how your condition changed after the accident.
Keep this information close. Download our accident documentation checklist so you know what to capture at the scene.
Collect Information Before People Leave
Once you’ve documented the scene, turn your attention to the people and vehicles involved. Drivers and witnesses may leave quickly, so collect the information you may need before everyone goes their separate ways.
10. Collect Vehicle and Contact Information
Take clear photographs of every license plate, along with the other driver’s license, insurance card, and vehicle registration. Confirm the driver’s name, phone number, email address, vehicle information, and who owns the vehicle.
Taking pictures is usually easier and more accurate than trying to copy everything down while you are shaken up.
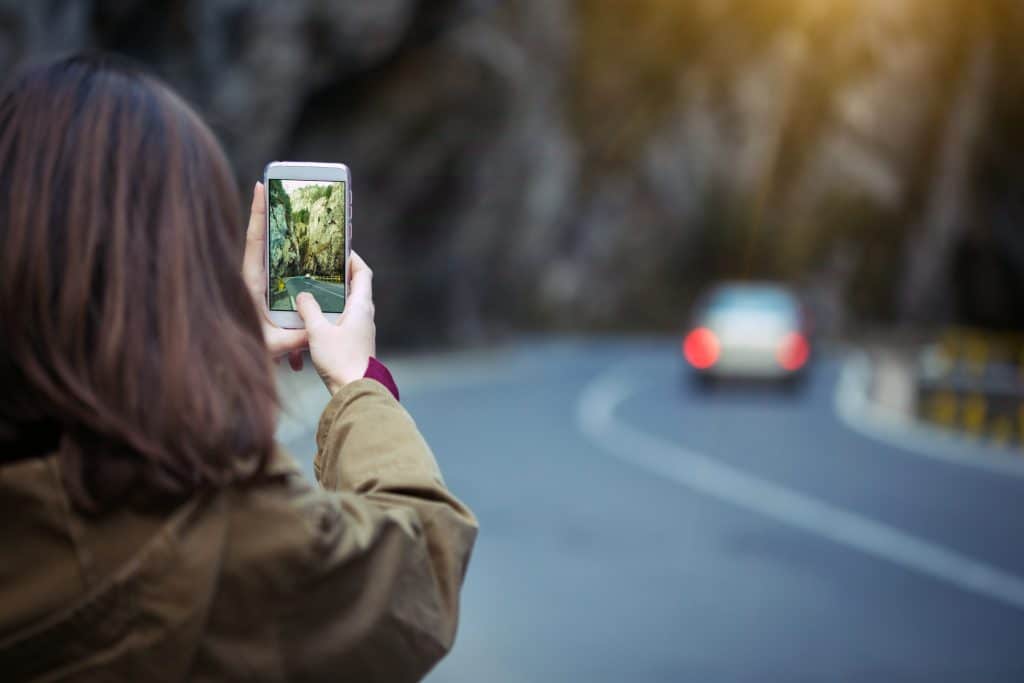
If the other driver leaves the scene, try to photograph the vehicle as it is leaving, but don’t chase it or put yourself in danger. Record as much of the plate number, vehicle description, and direction of travel as you can.
11. Get Witness Contact Information
Ask each witness for their name, phone number, and email address before they leave.
Don’t assume the responding officer will identify everyone who saw what happened. Witnesses can be difficult to locate later, and their account may become important if the other driver or insurance company disputes your version of events.
Don’t need to question them in detail or argue about what happened, as this can create the impression that you are directing their statement. Preserve their contact information and allow your attorney to follow up.
12. Preserve Statements Made at the Scene
If the other driver admits fault or explains what happened, write down their exact words as soon as you can.
When it is safe and appropriate, a written or recorded statement may help preserve that account before it changes. Don’t argue with the other driver or pressure them to say more.
Keep this information close. Download our accident documentation checklist so you know what to capture at the scene.
Preserve the Official and Digital Record
Some of the most important evidence may not be in front of you at the scene. Before you move on, make sure you know where to find the official report, any available video footage, and the files you have already collected.
13. Record the Police and Incident Information
Under Florida law, all accidents involving injuries or at least $500 worth of damage must be reported to the police. Write down the name of the responding agency, the officer’s name, the report or incident number, and any instructions for getting a copy of the final report.
Keep in mind that the police report is only one part of the record. It may not include every photograph, witness, or detail from the scene.
14. Identify Nearby Cameras
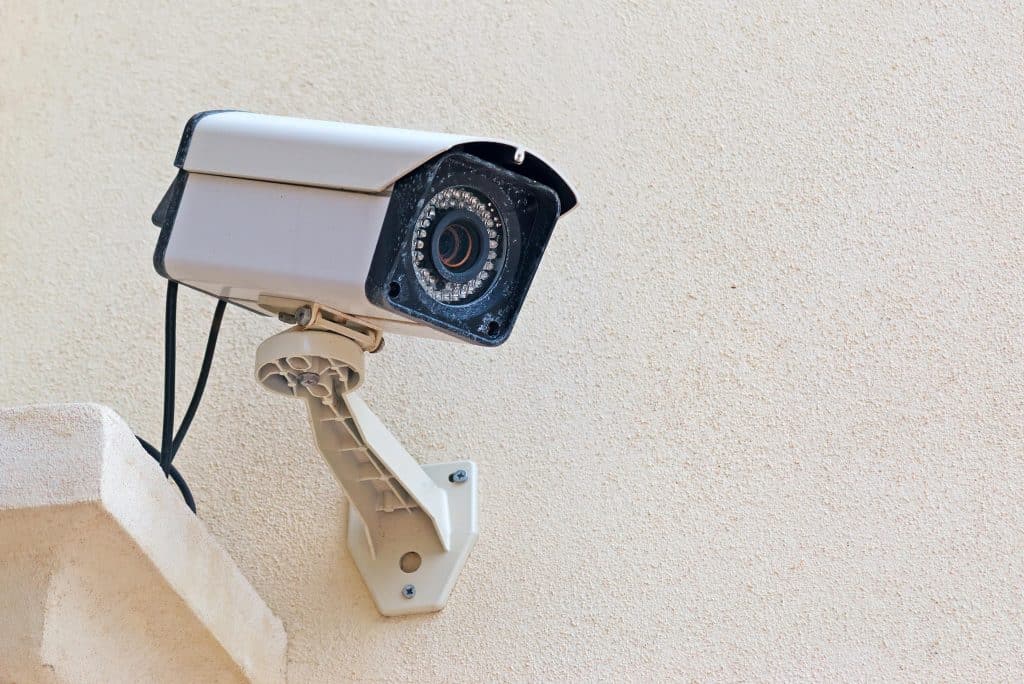
Look for business surveillance cameras, traffic cameras, doorbell cameras, dashcams, truck-mounted cameras, and cameras on nearby homes or vehicles.
Photograph where the cameras are located and note who may control the footage. Video can be overwritten quickly, so an attorney may need to send a preservation request before it is lost.
If a commercial truck was involved, camera footage and electronic vehicle data may be especially important.
15. Save the Original Photos and Videos
Keep the original files exactly as they were captured. Do not crop, edit, annotate, or apply filters to the original copy.
Back them up when you can, and avoid deleting anything that may later help explain what happened.
16. Create One Accident File
Keep everything related to the accident in one place. This includes:
- Photos and videos
- Witness information
- The police report
- Insurance correspondence
- Medical records and prescriptions
- Repair estimates
- Receipts
- Proof of missed work
- Rental-car, rideshare, or other accident-specific records
A single folder, whether digital or physical, makes it easier to find what you need and helps prevent important information from getting lost.
Keep this information close. Download our accident documentation checklist so you know what to capture at the scene.
Protect the Evidence. Protect Your Claim.
Documentation doesn’t guarantee how a claim will be resolved. It does, however, make it harder for an insurance company to replace the facts with a more convenient version of the accident.
Even strong documentation still needs to be reviewed, organized, and used correctly. Beers & Gordon can evaluate the evidence you collected, identify what may still be missing, and take steps to preserve records.
If you were injured in an accident, don’t deal with the insurance company alone. Contact Beers & Gordon for a free consultation. We can explain what to do next, protect important evidence, and handle the insurance pressure while you focus on your recovery.